
Last updated on September 20, 2026
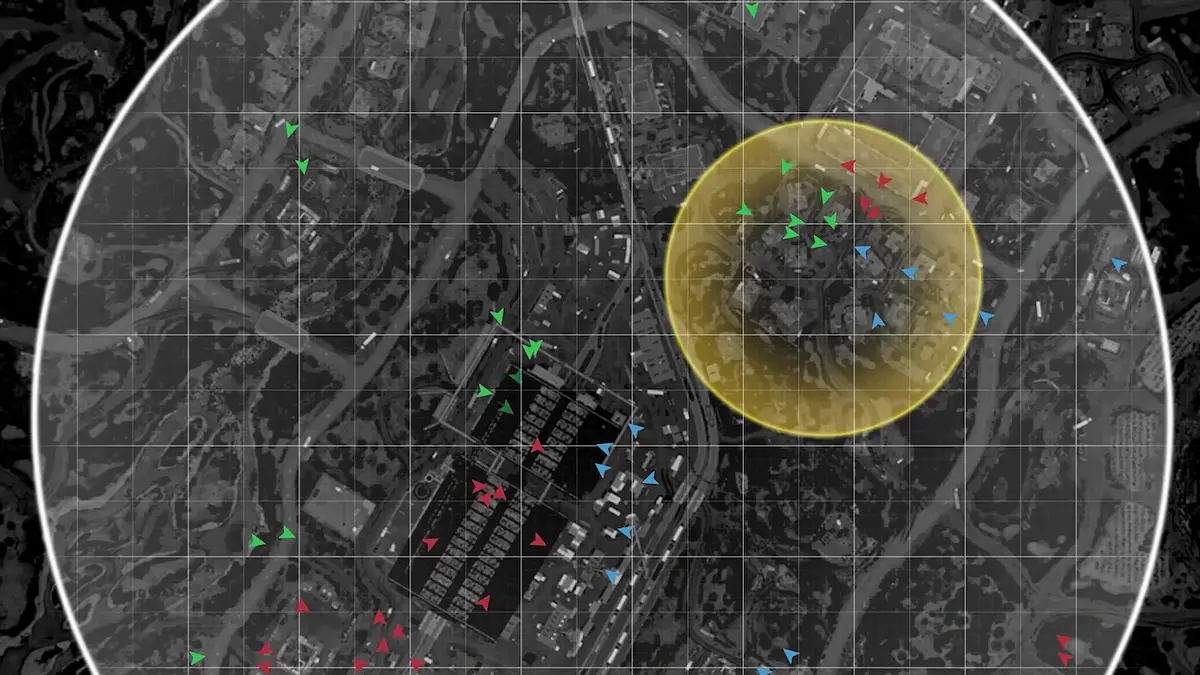
Wardogs is played as King of the Hill between three factions: Lonestar, Valkyra, and Manticore. Each match centers on a randomised 2×2 km Control Zone, and whichever faction keeps the most players inside it scores points. Inside that zone sits a smaller Hot Zone, where both points and cash count double for anyone standing there.
Towers are the one part of the match a faction can actually steer: capturing them decides where that Hot Zone ends up, and each tower you hold reveals one digit of a four-digit code tied to it. Bulkhead itself calls this mechanic “match-swinging,” the term the studio used in an official Q&A for how the Hot Zone can flip a match’s outcome.
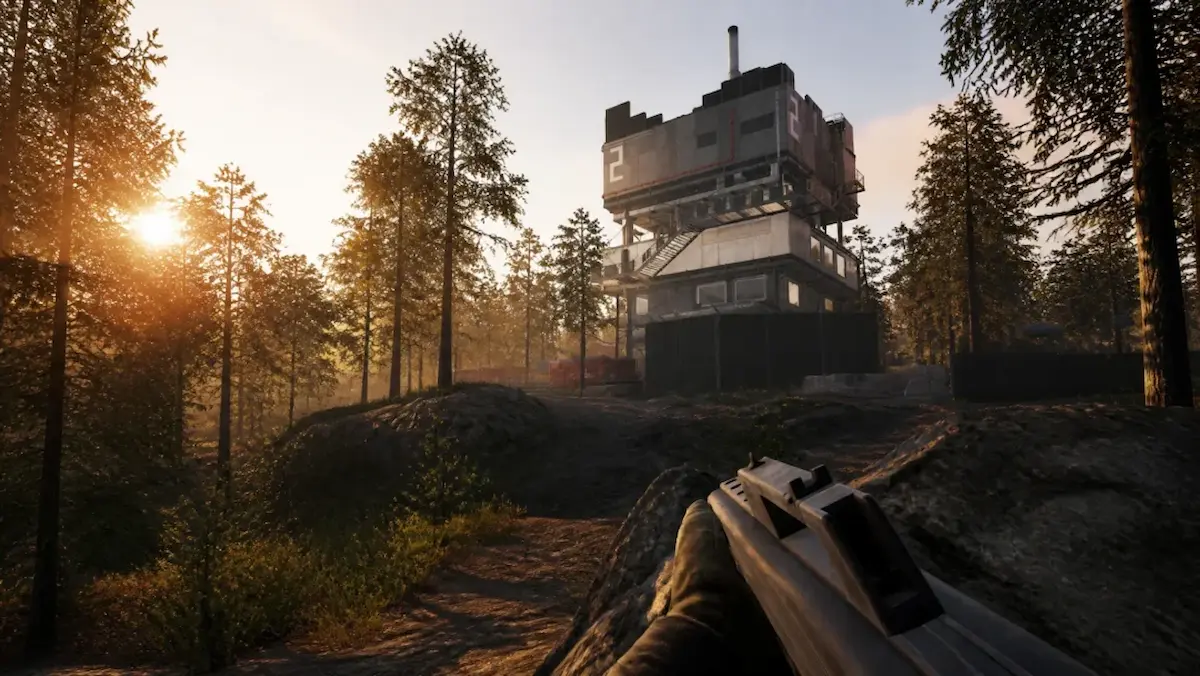
What towers do in Wardogs
Towers are fixed structures scattered across the map, each with its own control panel. On their own they don’t score points. They’re the layer that sits on top of the King of the Hill mode: whichever faction manages to link its captured towers into a full code gets to pull the Hot Zone toward the tower it has already built a base around, turning ground it has fortified into ground worth double cash.
How to capture a tower
- Clear the area. Enemy players holding the tower have to be dead or gone before the control panel responds
- Wait out the cooldown. Every tower starts the match on a fixed 10-minute cooldown; once the area is clear and that cooldown has passed, the panel can be used
- Head up into the tower, one floor above the entrance. That’s where the operations room sits, with the main console screen and the numeric keypad next to it
- Hold the interact key at the console until the progress bar fills. The tower then flips to your faction’s color, so a single enemy left alive nearby can still stop the capture
- Hold it. A captured tower can be retaken the same way, and losing it means losing the use of its digit
Capturing a tower also pays out cash on its own, on top of revealing a digit, so it’s worth doing even if your team never completes the full code that match.
What the four-digit tower code actually does

Each tower your faction captures reveals one digit of a four-digit code. It’s worth being clear about what the capture itself does and doesn’t do. Taking a tower pays cash and gives you a digit, but it doesn’t score match points on its own, and it doesn’t move the Hot Zone by itself.
Once your team holds all four digits, someone enters the full code at the terminal on the tower your faction has made its base around. Only then does the Hot Zone start moving toward that spot. The code is randomised every match, so there’s nothing to memorise or carry over between rounds. And because the Hot Zone shifts gradually rather than teleporting, the other two factions get some warning that a fight is coming their way.
Capturing towers isn’t the only way to pull the Hot Zone toward your position. Factions can also build a Drill Site on their own FOB, a smaller structure that works as a stand-in tower. Fuel it up to its 6000/6000 capacity and you can activate it as its own Hot Zone magnet, which gives a team a way to compete for the Hot Zone even without controlling every tower on the map.
Where the towers are on the map
Tower counts aren’t fixed, they vary from match to match: every fresh match starts with its own configuration, both in how many towers are active and where. On Bakurani, active towers usually land somewhere between 5 and 7, plus a handful of abandoned towers that are landmarks rather than real objectives. On Ozeti, the count stays steady at 4.
The game now has three playable maps: Bakurani, Ozeti, and, most recently, Zestafona, the third map, which has just entered rotation with servers already filling up. Zestafona’s towers aren’t documented by the community yet, since it’s too new. Bulkhead hasn’t published official tower names, so exact naming can shift between updates as the game leaves Early Access.
What players are still asking for
Feedback on the tower system has been fairly consistent through both betas. The tutorial doesn’t explain towers or the code at all, leaving new players to figure out the mechanic from community guides like this one. Players have also flagged that towers can reward camping: a faction dug in around a held tower with overwatch on it is genuinely hard to dislodge. Reworking the system has been a recurring request on Bulkhead’s developer forums, but neither issue has been addressed publicly so far.
Beta testing did surface a more effective alternative to static camping, though: a team that moves along with the Hot Zone, with medics keeping people alive along the way, consistently beat the strategy of sitting dug in at a fortified FOB. Towers and Drill Sites matter most when your team already holds a strong position and wants the objective brought to it, or when the Hot Zone has drifted somewhere you can’t realistically hold anyway.

I’m passionate about books and video games. These two great passions represent, for me, a boundless universe where I can “escape” from reality whenever I need or want to. There are so many stories, worlds, and landscapes where I can instantly teleport that I don’t think a whole lifetime would be enough to explore them all (though it would be my greatest dream to be able to).