Last updated on May 18, 2026
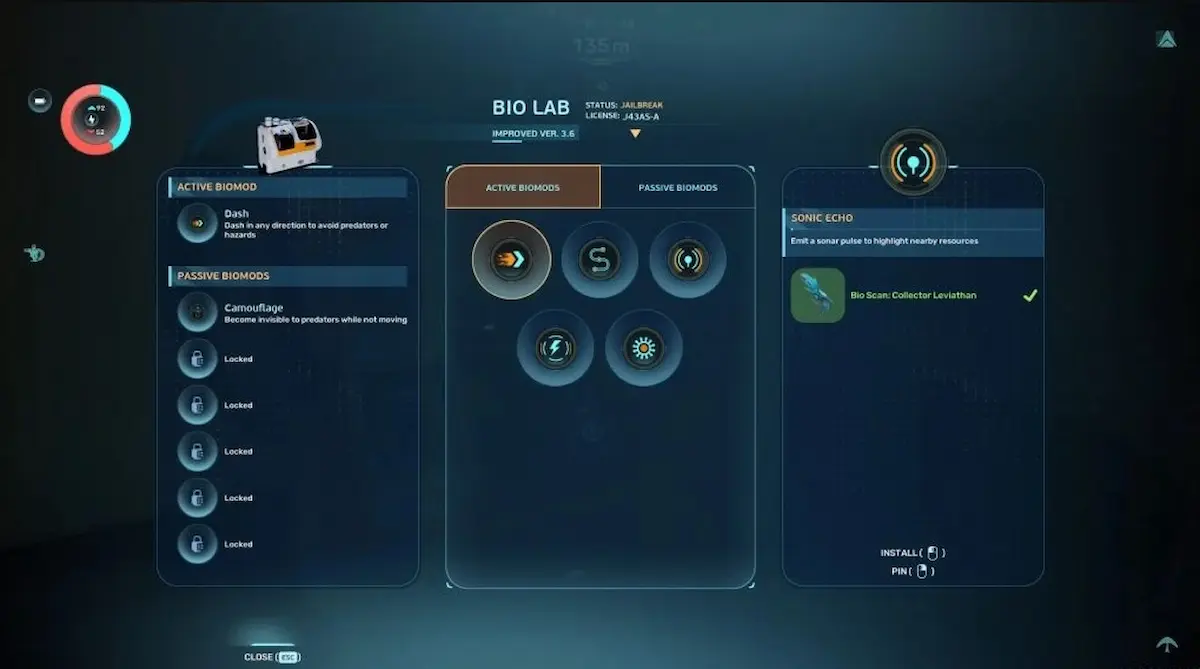
A few hours into Subnautica 2 and you have probably already found the functional Biolab inside the Welcome Center. It becomes your go-to upgrade hub quickly, especially once you discover the Biomod system, active and passive genetic modifications that change how your character moves, survives, and interacts with the underwater world. The catch is that the lab only gives you two options in each category by default.
Expanding that list requires tracking down a specific tool that is not handed to you through normal progression. It is hidden in the depths, there is only one on the entire map, and if you do not know where to look you could spend a long time swimming in the wrong direction. That tool is the Bioscanner, and this guide will walk you through exactly how to find it, craft it, and use it to unlock every Biomod currently available in the game.
Where to Find the Bioscanner
The Bioscanner does not unlock through the crafting menu the way most tools do. You first need to find a degraded version of it out in the world and scan it with your standard Scanner.
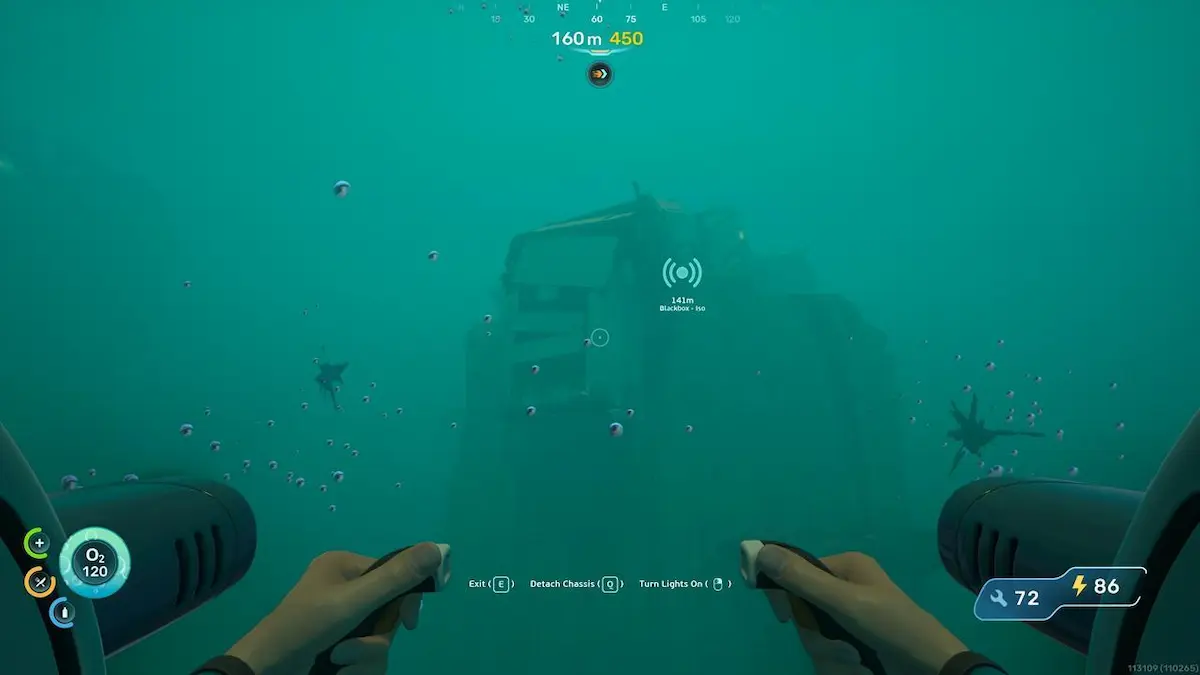
It is located in the shipwreck at the Blackbox Iso Signal. The game will eventually point you toward this signal through story progression, but if you want it earlier here are the navigation details:
The wreck sits in the second major zone of the game, recognizable by its alien structures and darker water with greenish tints. It is approximately 1,800 meters East of the life pod, or 600 meters Southeast of the Alien Ruins signal.
Once you reach the wreck, bring a Repair Tool. You will need to cut through vents and gaps in the hull, then swim down through increasingly destroyed sections of the ship until you reach a collapsed lower chamber. The degraded Bioscanner is at the bottom of that room. Scan it and head back to base.
How to Craft the Bioscanner
The Bioscanner is built at the Modification Station, which itself only becomes available in the second zone. Think of it as a direct upgrade to your standard Scanner, not a replacement for it.
Crafting requires:
1x Scanner (the one you already carry) 2x Enamelled Glass 3x Conduit Crystal
Once assembled, the Bioscanner lets you analyze advanced alien technology and, more importantly, scan creatures to unlock new Biomods back at the Biolab.
How Biomod Unlocking Works
The system is straightforward but takes patience. Each locked Biomod in the lab shows a list of creatures you need to scan with the Bioscanner. Requirements range from completely harmless fauna like the Water Slug to significantly more dangerous encounters like Leviathan-class creatures.
One thing worth knowing before you start: scans done earlier with your regular Scanner do not count. You will need to find those creatures again and scan them with the Bioscanner. It is a bit frustrating if you have already been thorough in your exploration, but the abilities you unlock make the backtracking worthwhile.
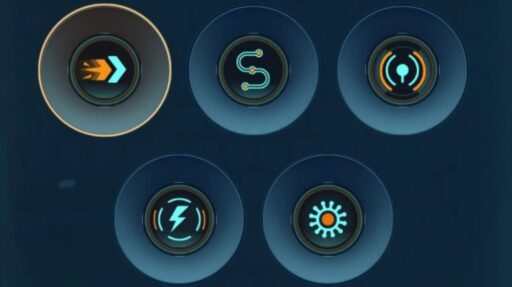
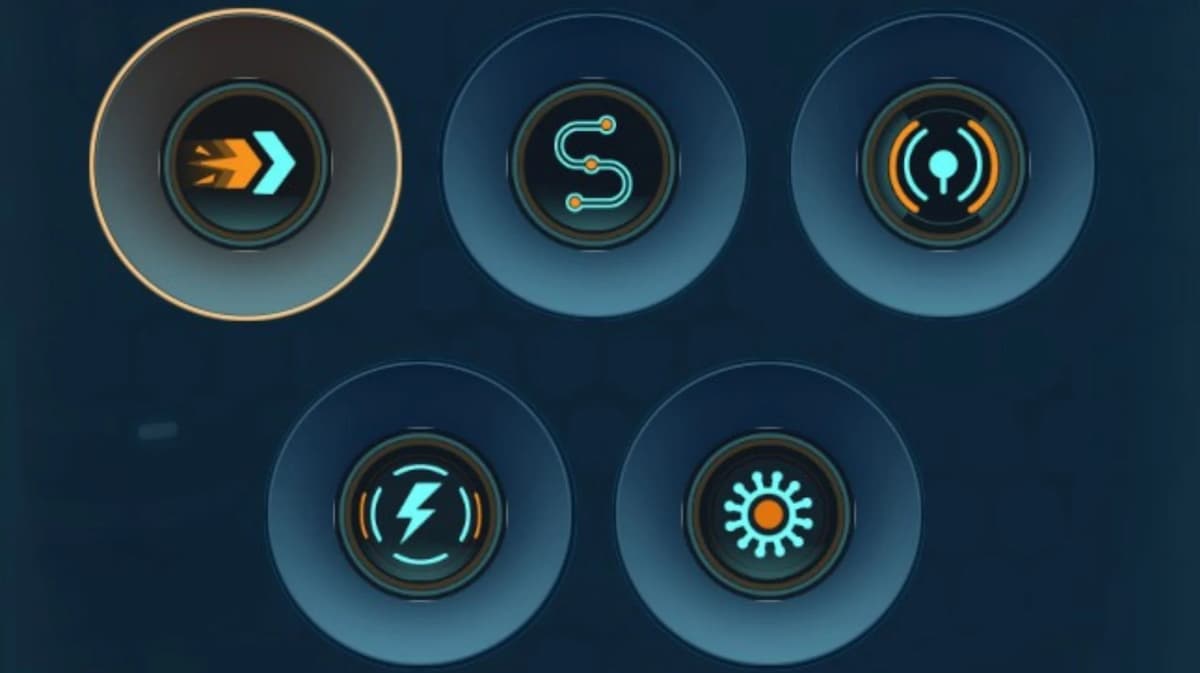
All Active Biomods in Subnautica 2
Active Biomods require manual activation during play. They typically have cooldowns or consume energy.
Dash (available by default) — Lets you burst in any direction instantly, useful for escaping predators or navigating tight spaces quickly.
Pathfinder (available by default) — Leaves a pheromone trail behind you that you can follow back out of caves and complex structures.
Sonic Echo (scan: Collector Leviathan) — Sends out a pulse that highlights nearby resources in the environment.
Electric Discharge (scan: Electric Geordie) — Releases an 800-volt shock that drives away medium and large predators.
Chum Cloud (scan: Toxic Sponge, Houndgar) — Launches a cloud of irresistible bait that distracts predators in the area, giving you time to move.
All Passive Biomods in Subnautica 2
Passive Biomods run constantly in the background without any input from you. They stack and compound over time, making late-game survival significantly more manageable.
Sea Skimmer (available by default) — Increases swim speed when you are close to the seafloor or a submerged surface.
Oxygen Control (available by default) — Reduces oxygen consumption significantly when you are stationary.
Bioluminescence (scan: Sandspear, Electric Geordie) — Your body emits a soft glow that helps you see in dark environments, and makes you visible to others.
Camouflage (scan: Bullethead) — Makes you completely invisible to predators as long as you are not moving.
Water Retention (scan: Coral Crab) — Modifies your kidneys similarly to an orca, extracting more hydration from any water source.
Homing Sense (scan: Surge Jelly, Hammerhead) — Automatically detects nearby bases that are powered by electricity.
Threat Sense (scan: Hoverthorn) — Specialized hair cells alert you when predators or threats are in your vicinity.
Dermal Garden (scan: Needler Mango) — Allows nutritious algae to grow directly on your skin, providing a slow but consistent source of food.
Slow Metabolism (scan: Nibbler Mango) — Optimizes your microbiome so the hunger indicator depletes much more slowly.
Water Secretion (scan: Water Slug) — Filters saltwater and gradually fills a container with fresh drinking water drawn directly from the ocean around you.
That is the full list as of the current Early Access build. Fifteen Biomods total, five active and ten passive, each tied to specific creatures scattered across the map. Prioritize Slow Metabolism and Camouflage early if you are playing on higher difficulty settings. Sonic Echo pays off in the resource-rich areas of the second zone. And try to get the Bioscanner before you explore the alien structures in depth, since there are several creatures in that region that feed directly into the best unlocks.
Want to find out how long it takes to finish Subnautica 2 in its current state? Check it out here.
I’m passionate about books and video games. These two great passions represent, for me, a boundless universe where I can “escape” from reality whenever I need or want to. There are so many stories, worlds, and landscapes where I can instantly teleport that I don’t think a whole lifetime would be enough to explore them all (though it would be my greatest dream to be able to).